


Installing metal edging on a brick surface is a practical and aesthetically pleasing way to enhance the appearance and functionality of your outdoor space. As a reliable metal edging supplier, we understand the importance of providing high-quality products and clear guidance to our customers. In this blog, we'll walk you through the step-by-step process of installing metal edging on a brick surface, share some essential tips, and introduce you to our range of metal edging products.
Understanding Metal Edging and Its Benefits
Before we dive into the installation process, let's briefly discuss what metal edging is and why it's a great choice for your brick surfaces. Metal edging is a durable and versatile material used to separate different areas in your garden, such as flower beds, lawns, and walkways. It offers several advantages over other types of edging materials, including:
- Durability: Metal edging is resistant to rot, decay, and pests, making it a long-lasting solution for your outdoor space.
- Aesthetics: Metal edging adds a sleek and modern look to your garden, enhancing its overall appearance and curb appeal.
- Functionality: Metal edging helps to keep your lawn and garden beds separated, preventing grass and weeds from encroaching on your flower beds and walkways. It also provides a clean and defined edge, making your garden easier to maintain.
Choosing the Right Metal Edging for Your Brick Surface
When choosing metal edging for your brick surface, there are several factors to consider, including the type of metal, the style of the edging, and the height of the edging. Here are some of the most common types of metal edging available:
- Aluminum Edging: Aluminum edging is lightweight, corrosion-resistant, and easy to install. It's a popular choice for residential gardens and landscaping projects.
- Steel Edging: Steel edging is strong, durable, and provides a more substantial look and feel. It's ideal for commercial and high-traffic areas.
- Galvanized Steel Edging: Galvanized steel edging is coated with a layer of zinc to protect it from rust and corrosion. It's a cost-effective and long-lasting option for outdoor use.
In addition to the type of metal, you'll also need to choose the style and height of the edging that best suits your needs and preferences. Some of the most popular styles of metal edging include:
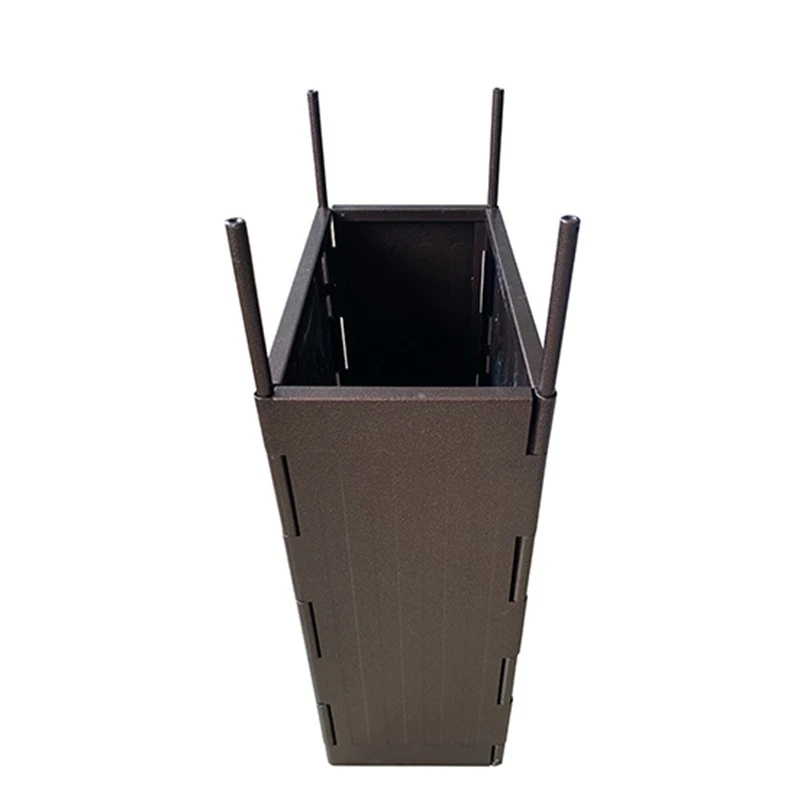

- Straight Edging: Straight edging is the most common type of metal edging and is suitable for creating clean and straight lines in your garden.
- Curved Edging: Curved edging is ideal for creating soft and flowing lines in your garden, such as around flower beds and walkways.
- Decorative Edging: Decorative edging features intricate designs and patterns, adding a touch of elegance and style to your garden.
At our company, we offer a wide range of metal edging products to suit every need and budget. Whether you're looking for a simple and functional edging solution or a decorative and stylish option, we have the perfect product for you. Check out our Garden Metal Border, Steel Garden Edging, and Tall Landscape Border for more information.
Preparing Your Brick Surface for Metal Edging Installation
Before you begin installing metal edging on your brick surface, it's important to prepare the area properly to ensure a successful installation. Here are the steps you'll need to follow:
- Clean the Brick Surface: Use a broom or pressure washer to remove any dirt, debris, or weeds from the brick surface. This will help the metal edging to adhere properly and prevent any issues with installation.
- Mark the Edging Line: Use a chalk line or string to mark the desired location of the metal edging on the brick surface. Make sure the line is straight and level, and that it follows the contour of the area you want to edge.
- Dig a Trench: Use a shovel or edging tool to dig a trench along the marked line. The trench should be deep enough to accommodate the metal edging and wide enough to allow for easy installation.
- Level the Trench: Use a level to ensure that the bottom of the trench is level. This will help the metal edging to sit evenly on the brick surface and prevent any unevenness or gaps.
- Fill the Trench with Gravel: Fill the trench with a layer of gravel to provide a stable base for the metal edging. The gravel should be about 2-3 inches deep and should be spread evenly along the bottom of the trench.
Installing Metal Edging on Your Brick Surface
Once you've prepared the brick surface and the trench, it's time to install the metal edging. Here are the steps you'll need to follow:
- Cut the Metal Edging: Use a hacksaw or metal cutter to cut the metal edging to the desired length. Make sure to wear safety goggles and gloves to protect yourself from sharp edges.
- Place the Metal Edging in the Trench: Carefully place the metal edging in the trench, making sure it fits snugly against the brick surface. Use a rubber mallet to tap the edging into place, if necessary.
- Secure the Metal Edging: Use landscape spikes or screws to secure the metal edging to the brick surface. Make sure the spikes or screws are evenly spaced and that they are driven into the brick surface at a slight angle to prevent the edging from shifting.
- Connect the Sections of Metal Edging: If you need to connect multiple sections of metal edging, use a connector or coupling to join them together. Make sure the connector is securely attached to both sections of edging and that there are no gaps or spaces between them.
- Fill the Trench with Soil or Mulch: Once the metal edging is installed and secured, fill the trench with soil or mulch to cover the edging and create a seamless transition between the brick surface and the garden area.
Tips for a Successful Metal Edging Installation
Installing metal edging on a brick surface requires some skill and patience, but with the right tools and techniques, you can achieve a professional-looking result. Here are some tips to help you ensure a successful installation:
- Use the Right Tools: Make sure you have the right tools for the job, including a hacksaw or metal cutter, a rubber mallet, landscape spikes or screws, and a level. Using the right tools will make the installation process easier and more efficient.
- Measure Twice, Cut Once: Before you cut the metal edging, make sure you measure the area carefully to ensure that you have the correct length. Double-check your measurements before making the cut to avoid any mistakes.
- Take Your Time: Installing metal edging is a time-consuming process, so take your time and do it right. Make sure each section of edging is properly aligned and secured before moving on to the next one.
- Be Careful with Sharp Edges: Metal edging can have sharp edges, so be careful when handling it to avoid cuts or injuries. Wear safety goggles and gloves to protect yourself.
- Follow the Manufacturer's Instructions: Different types of metal edging may require different installation methods, so make sure you follow the manufacturer's instructions carefully. This will help you ensure a successful installation and avoid any issues with the edging.
Conclusion
Installing metal edging on a brick surface is a great way to enhance the appearance and functionality of your outdoor space. By following the steps outlined in this blog and using the right tools and techniques, you can achieve a professional-looking result that will last for years to come. As a leading metal edging supplier, we offer a wide range of high-quality products and expert advice to help you choose the right edging for your needs and install it correctly. If you have any questions or need further assistance, please don't hesitate to contact us. We're here to help you create the perfect outdoor space for your home or business.
References
- "Landscape Edging: A Guide to Different Types and Installation." Home Depot.
- "How to Install Metal Edging." Lowe's.
- "Metal Edging for Gardens: Benefits and Installation Tips." Gardening Know How.


